
👫 My Team
Invite your team members and start building together!

When you're working on a project, collaboration is key. To facilitate this collaboration, All That Node offers a feature that allows you to invite team members to your project. By inviting users to a project, they gain access to it on their own dashboard, enabling them to utilize its functionalities.
Please refer to the "Role Table" in the "How To Set a Role" section for more information regarding user roles.
Now, let's explore how to invite team members.
Developer Plan or higher subscription tiers support inviting team members.
Max Team Size By Plan
| Free | Starter | Scale | Business | Dedicated Nodes | |
|---|---|---|---|---|---|
| Team Size (including owner) | 1 | 2 | 10 | Unlimited | Unlimited |
How To Invite Teammates
Currently, only SSO via Google is supported (including Google organization accounts).
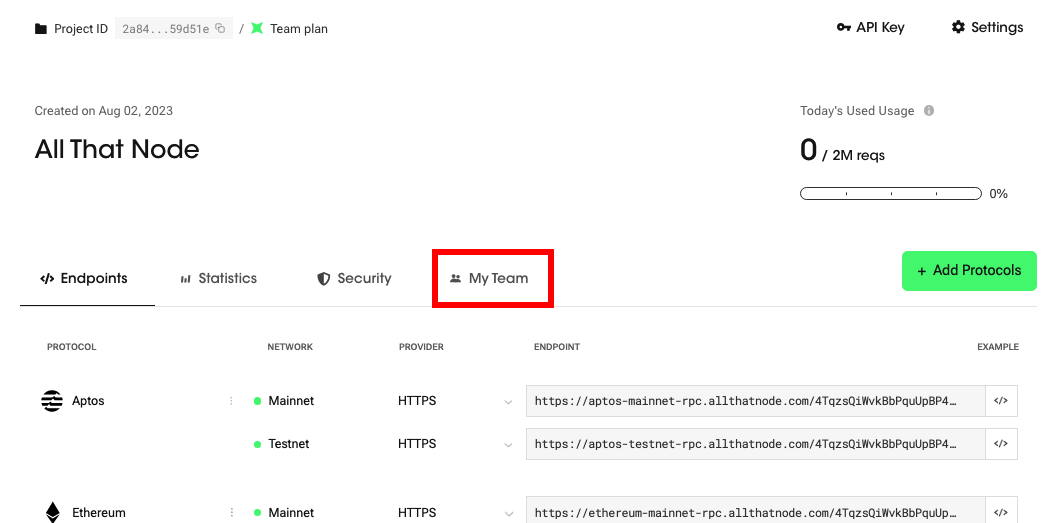
- Go to the "My Team" tab on your dashboard.
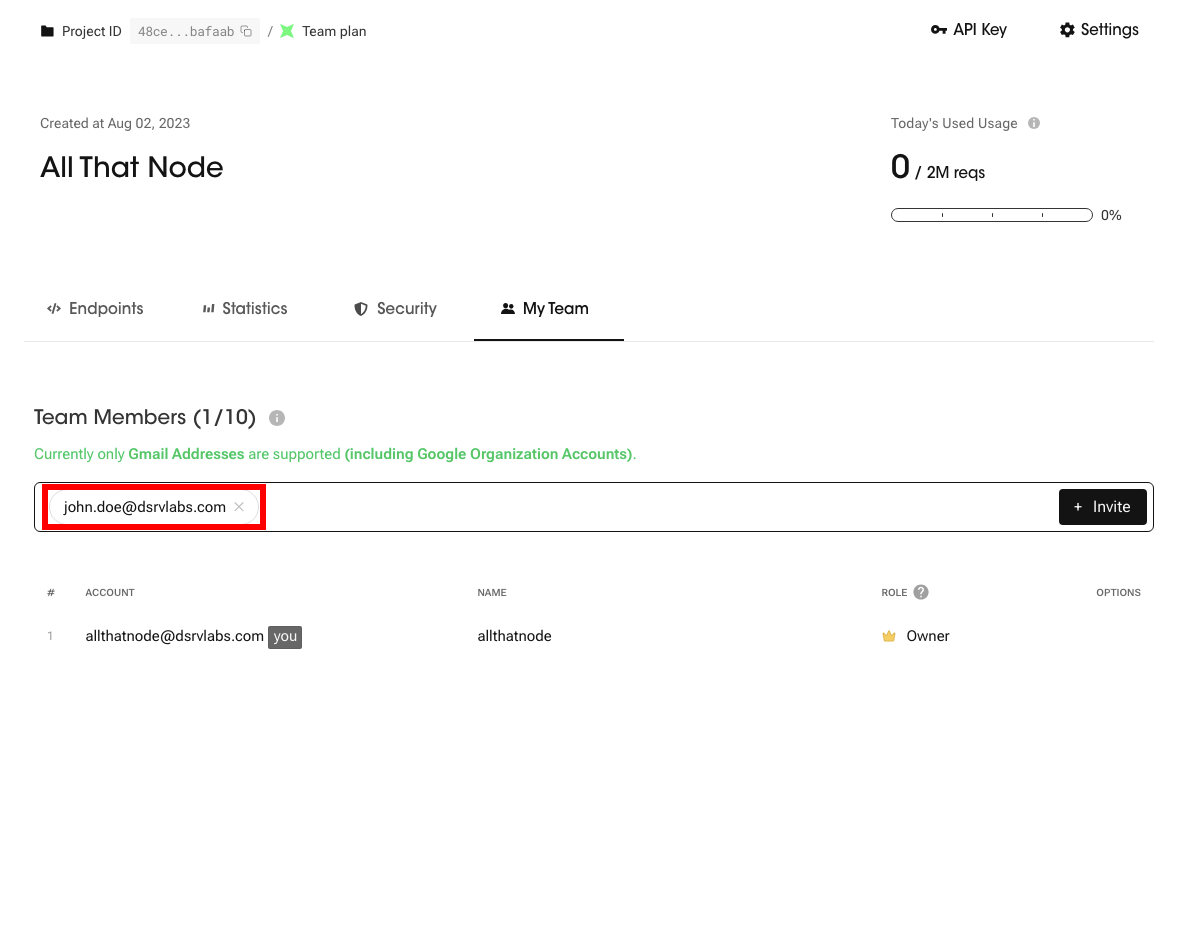
- Enter the email addresses you wish to invite. You can enter multiple email addresses and they must be separated by comma, tab, space, or enter.
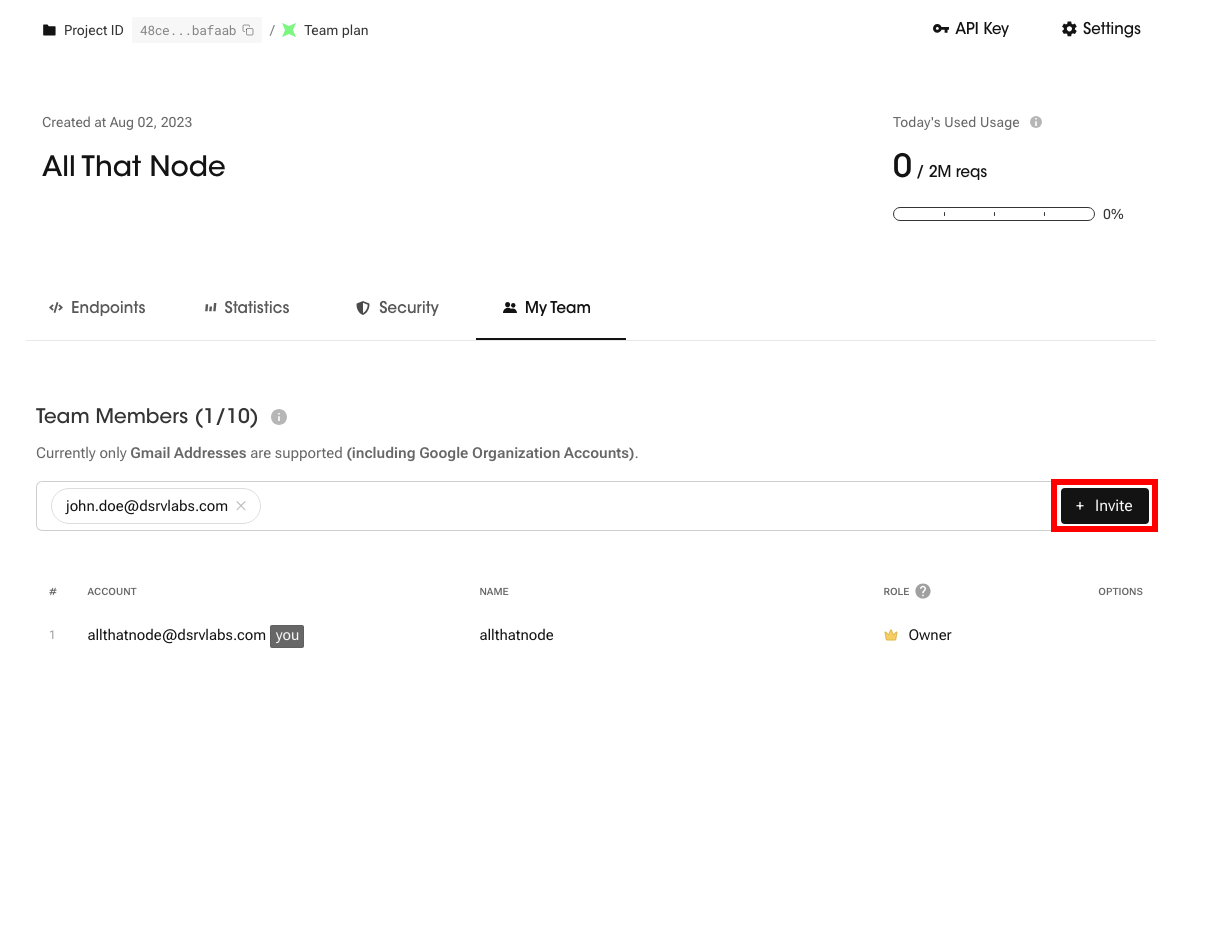
- Click on the "Invite" button. An invitation mail will be sent.
Invitation expirationation
The invitation link will expire after 7 days. After the 7-day period, clicking on the link will display an "Invitation Expired" page, and the pending member will be deleted from the list.
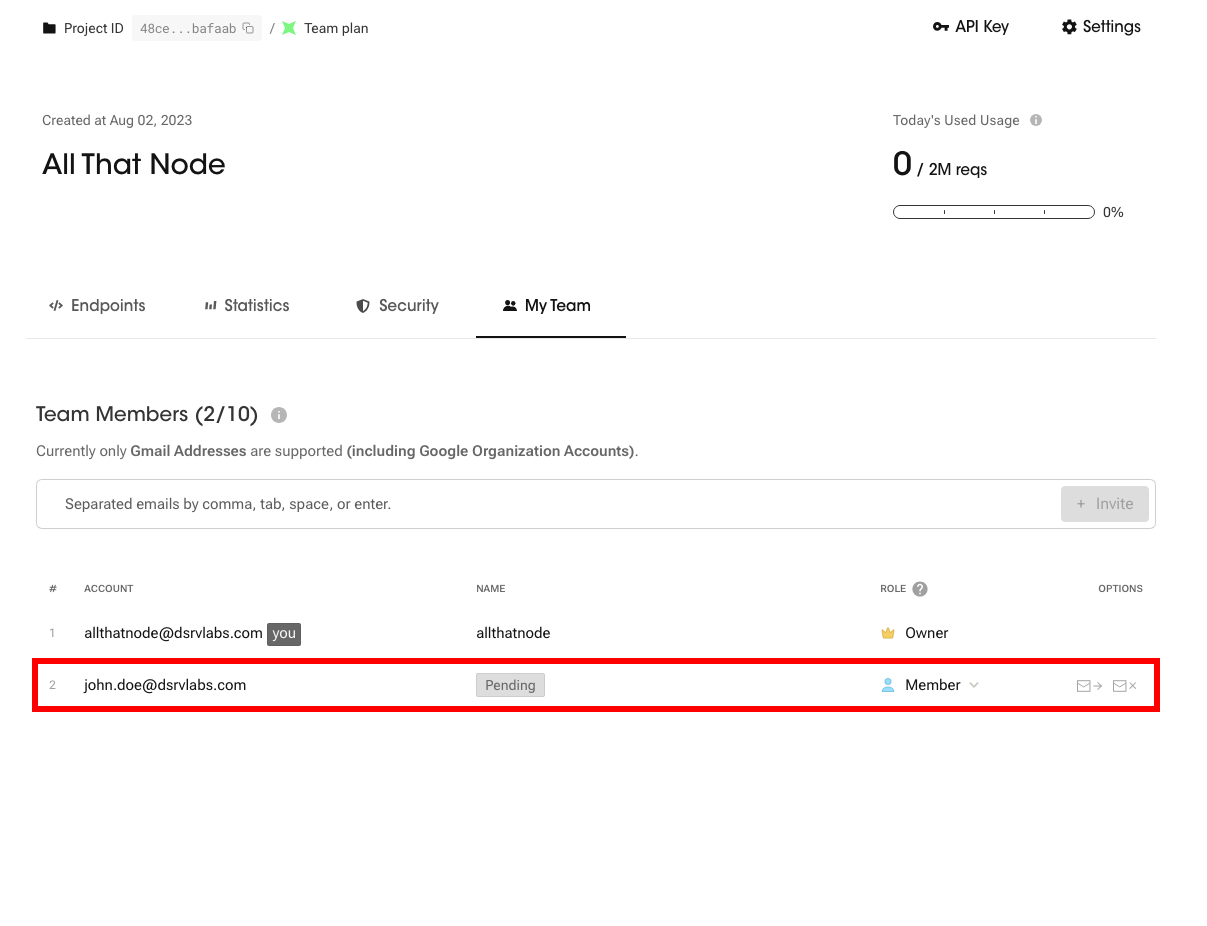
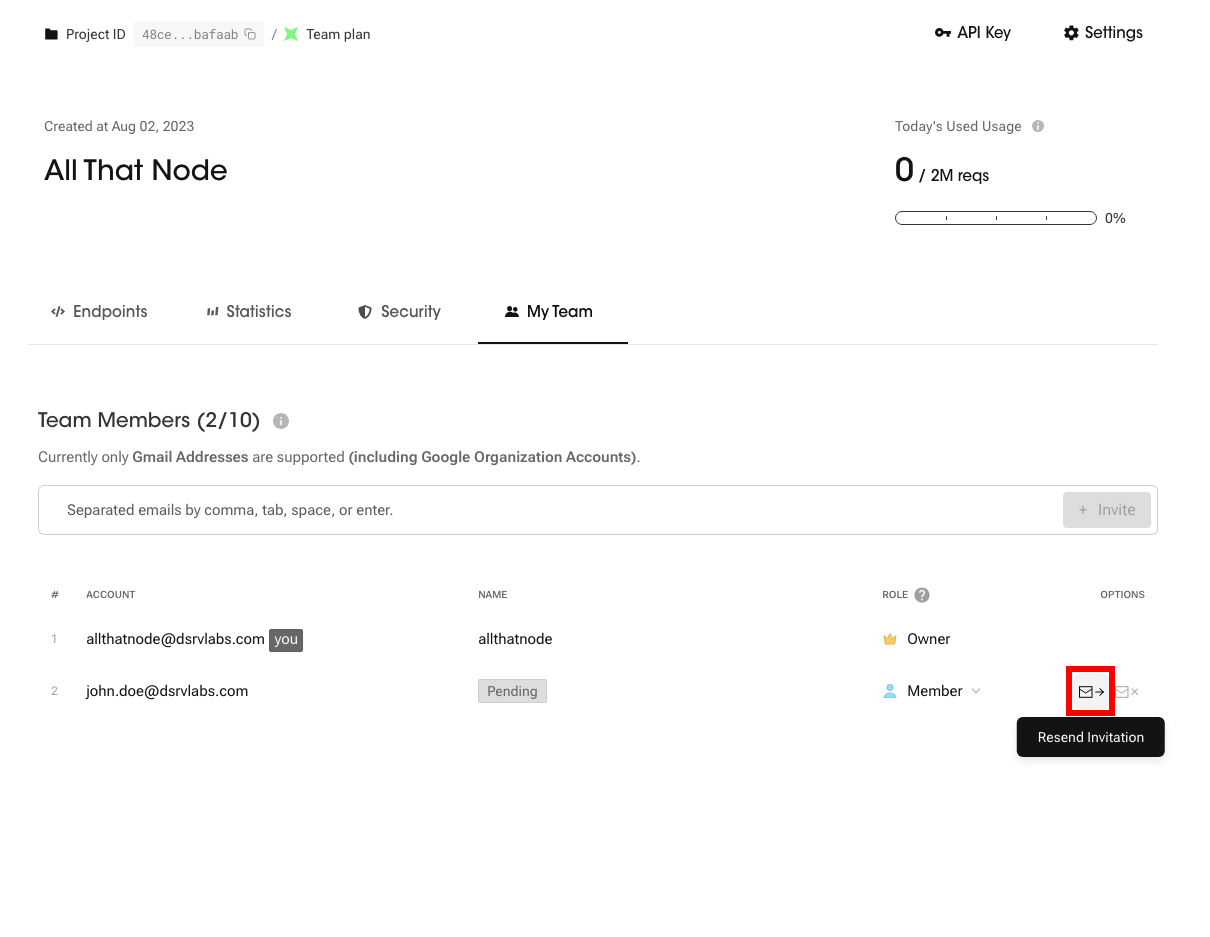
- 🌈Done! You can now find the member you sent the invitation to on the member list; invitation status should should be marked as "pending." You have the option to resend or cancel the invitation for this pending member.
Resend Invitation
If a team member did not receive the invitation email, you can resend the invitation email to them. Please note that if you send invitation emails repeatedly within a short period, you'll be restricted (?)
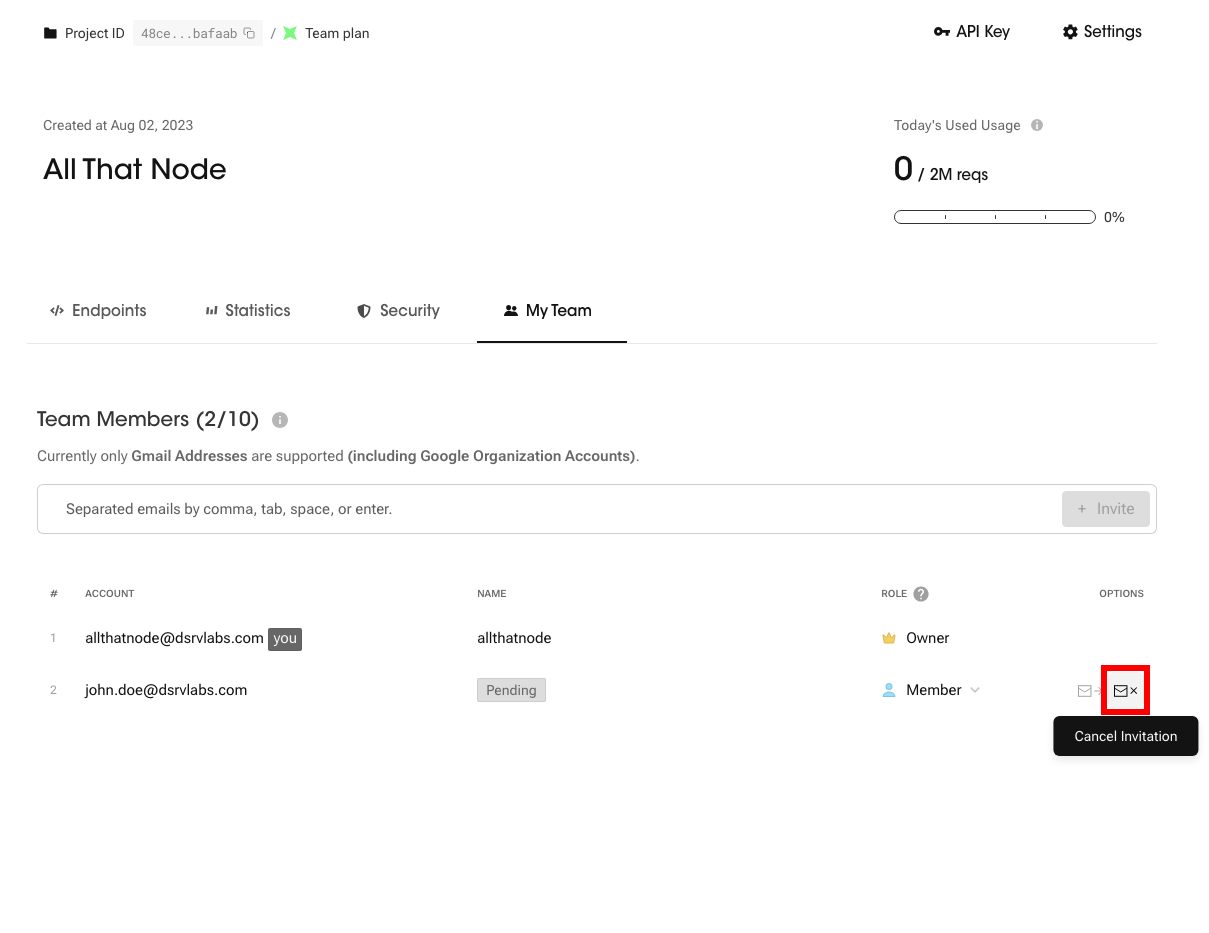
Cancel Invitation
You can cancel a previously sent invitation email. When the invitation is canceled, the invitation link immediately expires, and clicking on the expired link will lead to a "Invitation Expired" page.
How To Set a Role
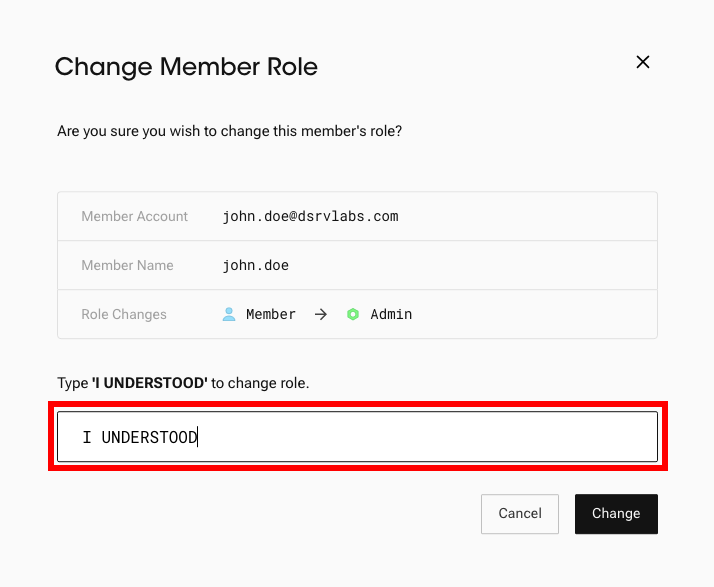
- Click on the user's "Role" in the team member list.
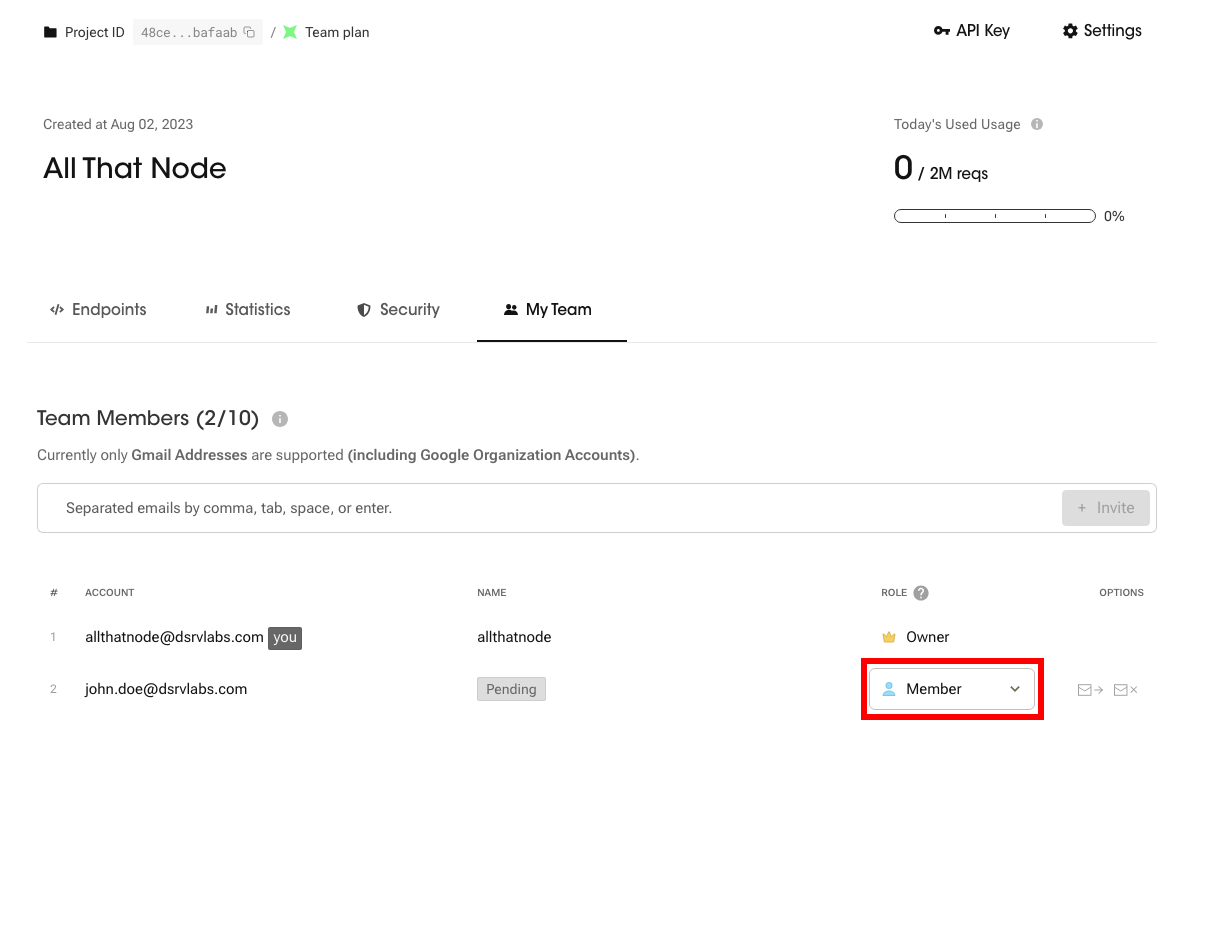
- Then, click on the role dropdown menu and select the desired role from the available options.
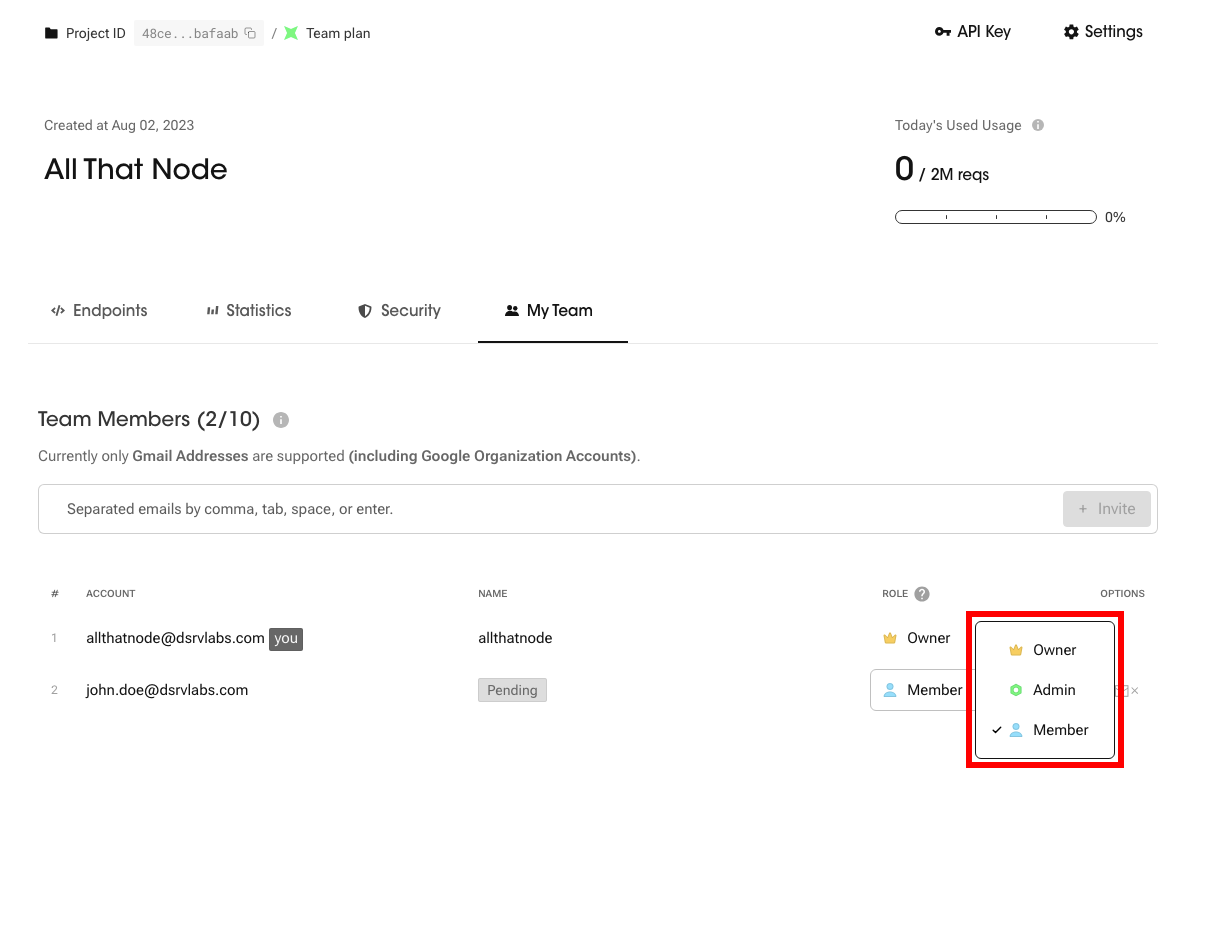
- Type "I understood" on the confirmation popup and click the "Change" buttons to save the change.
Transferring Ownership: Once the ownership transfer is complete, the new owner will have full administrative privileges and control over the project, while your role will be “Member." Please not that this cannot be Undone.
It's essential to ensure you trust the recipient before transferring ownership, as it grants them full control over the project, including the ability to modify settings, invite or remove team members, and make other administrative changes like canceling the subscription and deleting the project.
Role Table
*All view(read) functions are available for everyone.
| Category | Actions | Member | Admin | Owner |
|---|---|---|---|---|
| Common | Change API Key | ❌ | ✅ | ✅ |
| Edit project name/ description | ❌ | ✅ | ✅ | |
| Delete project | ❌ | ❌ | ✅ | |
| Endpoints | Add protocols | ❌ | ✅ | ✅ |
| Delete a protocol | ❌ | ✅ | ✅ | |
| Billing | Change payment method | ❌ | ❌ | ✅ |
| Cancel subscription | ❌ | ❌ | ✅ | |
| Change subscription plan | ❌ | ❌ | ✅ | |
| Set Auto-scaling | ❌ | ❌ | ✅ | |
| Add reserves | ❌ | ❌ | ✅ | |
| Pay invoices | ❌ | ❌ | ✅ | |
| Security | Add allowlist/blocklist | ❌ | ✅ | ✅ |
| Add JWT Public key | ❌ | ✅ | ✅ | |
| Team | Change team name | ❌ | ✅ | ✅ |
| Invite a member | ❌ | ✅ | ✅ | |
| Kick a member | ❌ | ✅ | ✅ | |
| Change member role | ❌ | ✅ | ✅ | |
| Statistics | All Metrics (Read) | ✅ | ✅ | ✅ |
How To Remove a Member From Your Team
It's important to note that removing a member from your team should be done with caution, as it permanently revokes their access to the project. Make sure to communicate any necessary information or arrangements before removing a member from the team.
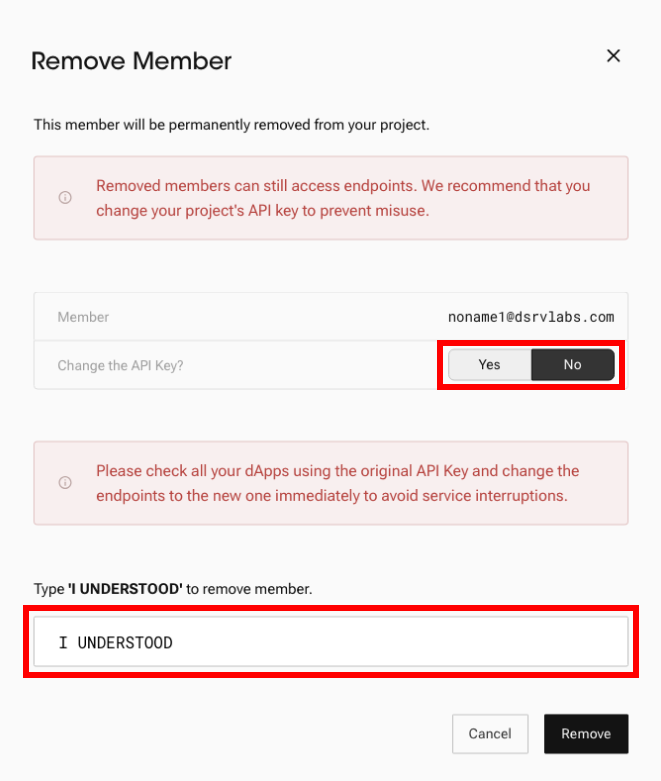
- Click on the "Remove" button on the team member list.

- Type "I understood" on the confirmation popup and click the "Remove" button to remove the member.
You can choose if you would like to change the API key as well.Removed members can still access your endpoints. We recommend you change your project's API key to prevent misuse.
- Removal completed. 💪🏻
Once you click the "Remove" button. The member will be removed from your team and will no longer have access to the project or its resources. Plus, the API Key will be changed if you chose the option, so you might have to modify your service's code.
How To Accept an Invitation
Once an invitation is sent, the invited teammate will receive an email with instructions on how to join the project. They can then sign in to their All That Node accounts and access the project from their dashboards.
- Check the mailbox of the account on you received the invitation email.
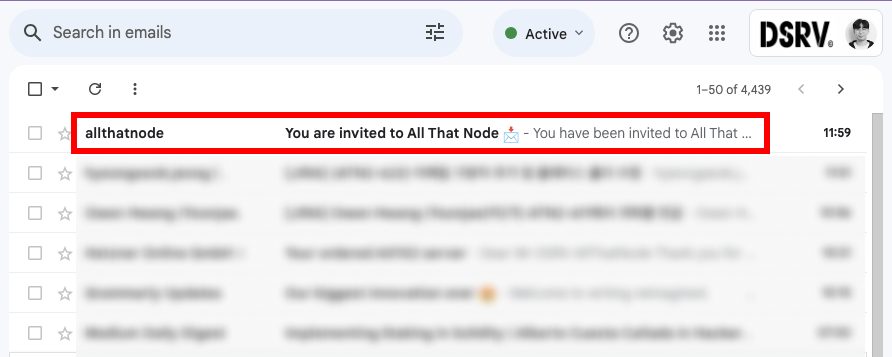
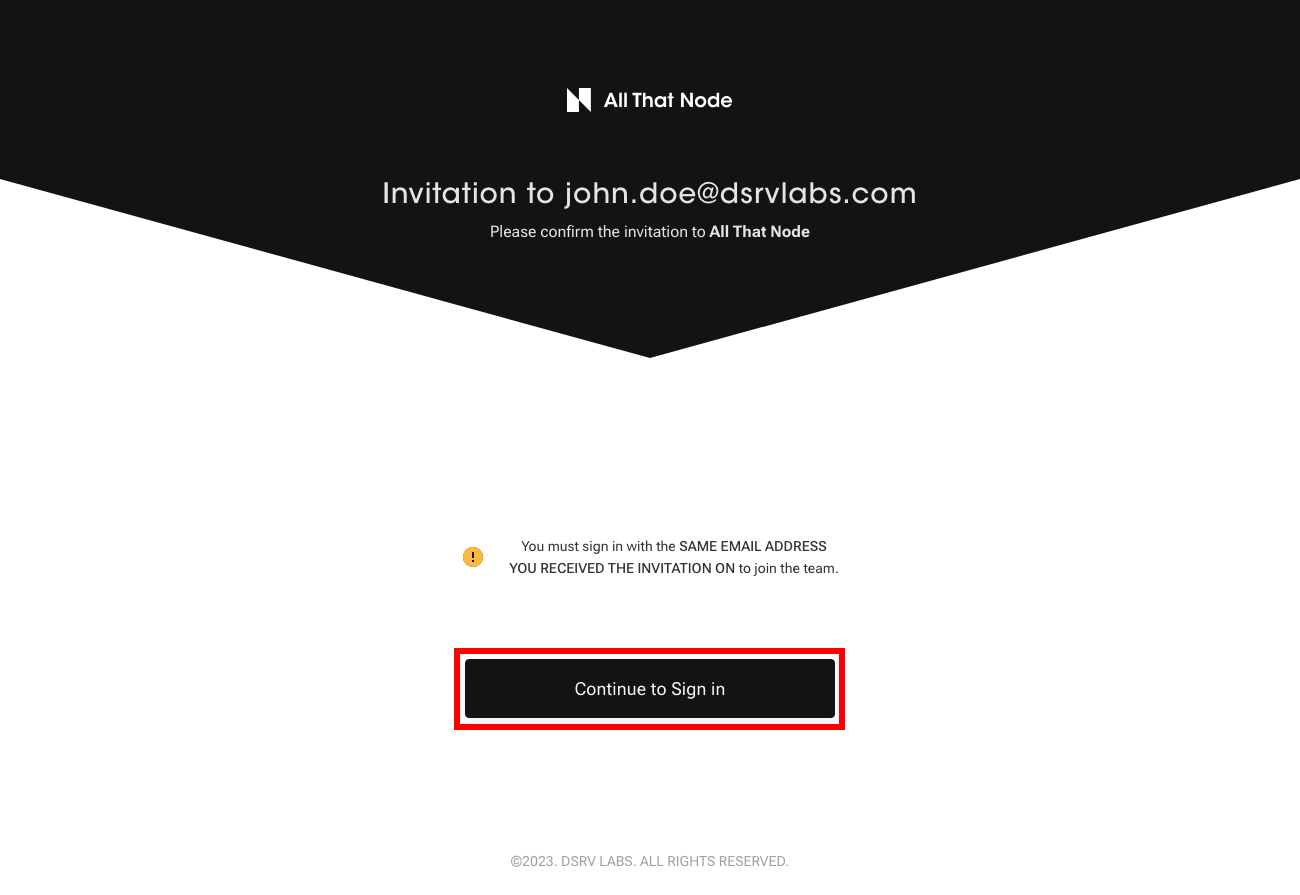
- Click "Accept Invitation."
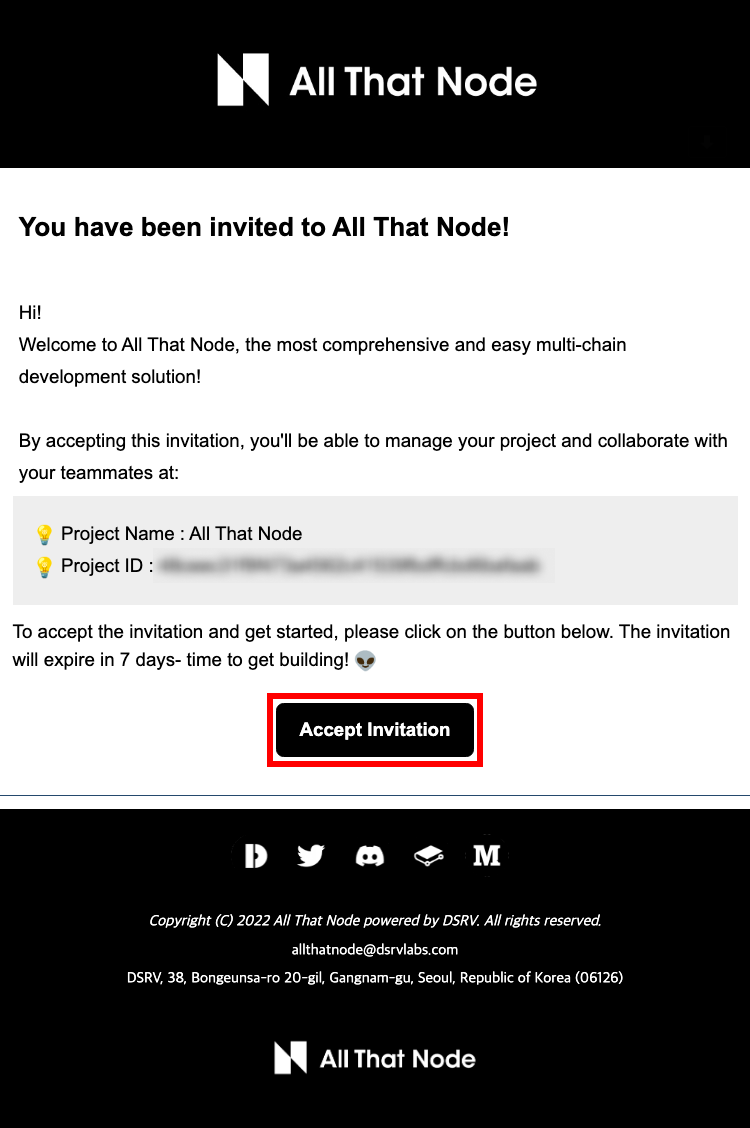
- You will be redirected to the All That Node website.
3-1. In case you're not already signed in, please sign in with the email address you were invited with.
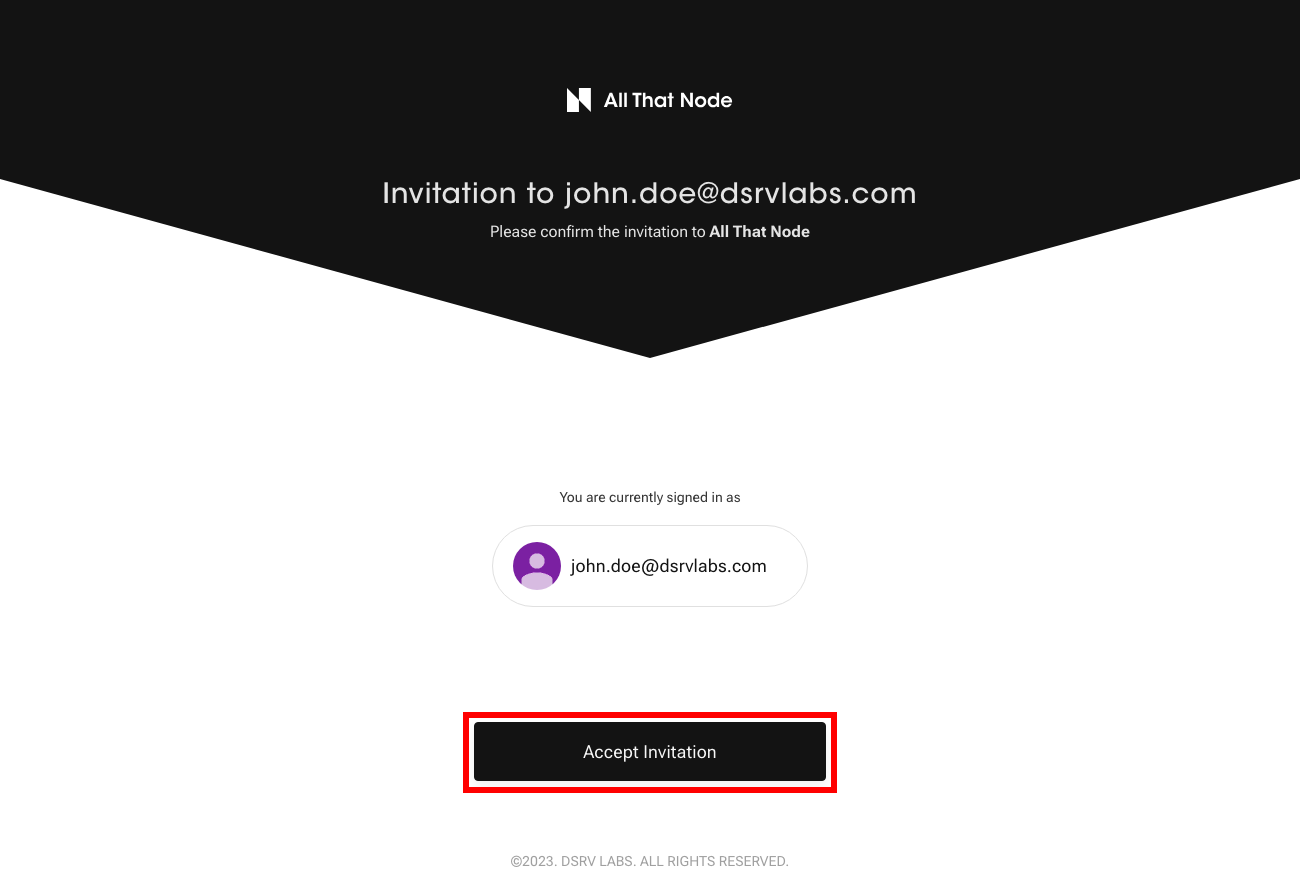
3-2. Or if you already signed in, click the "Accept Invitation" button.
3-3. If you are already signed in through an account that has not been invited, you have to sign in again with the correct account.
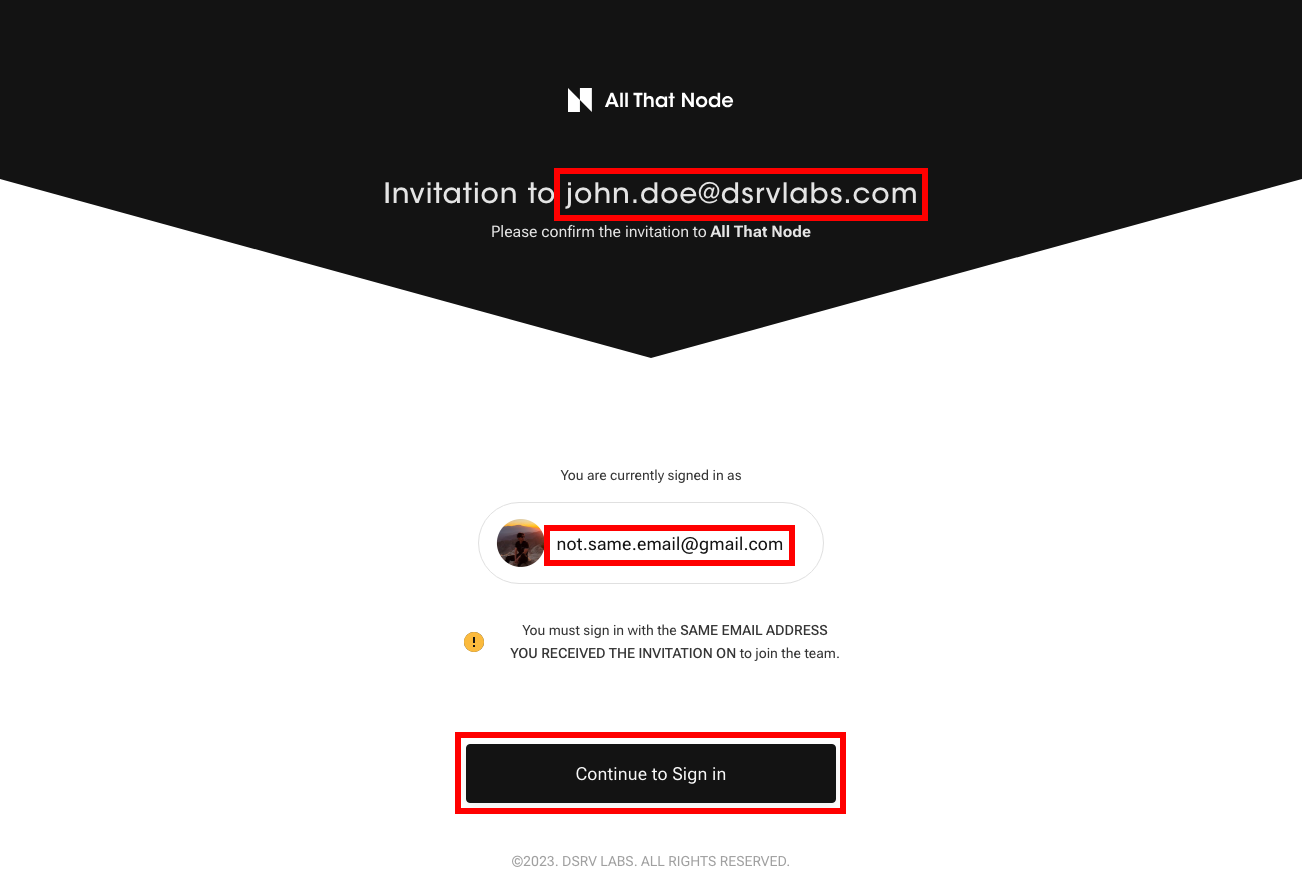
If you repeatedly sign in with an account that hasn't been invited, you will encounter the "Access Denied" page. Please sign in with the account that you received the invitation email.
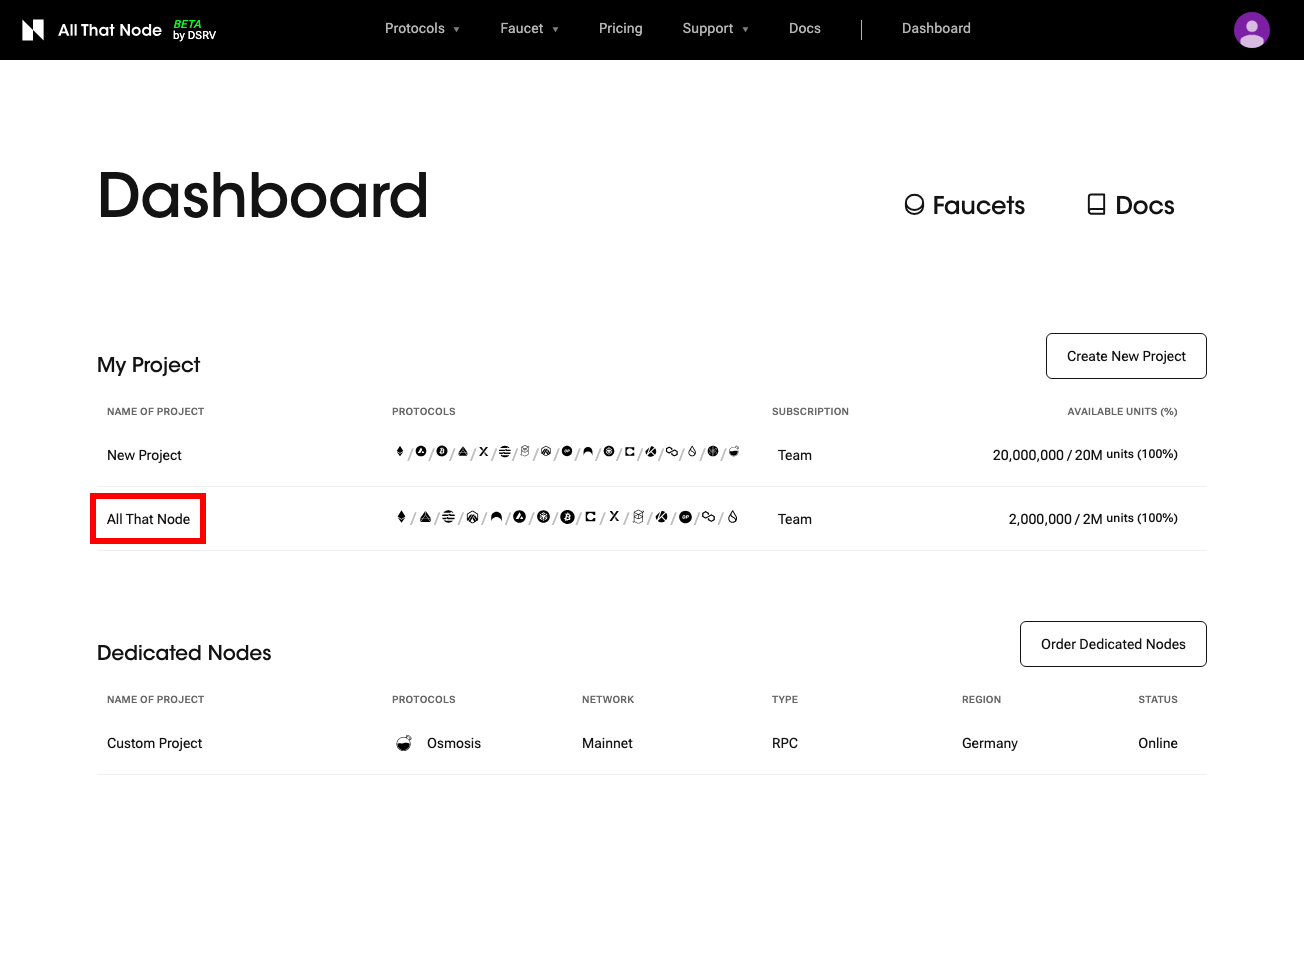
- Next you will be directed to your dashboard page, where you will see now be able to see the new added project. Depending on your role, you will have permissions for the project.
How To Leave Your Team
If you wish to leave the team yourself, simply click the "Leave" button next to your name in the member list.
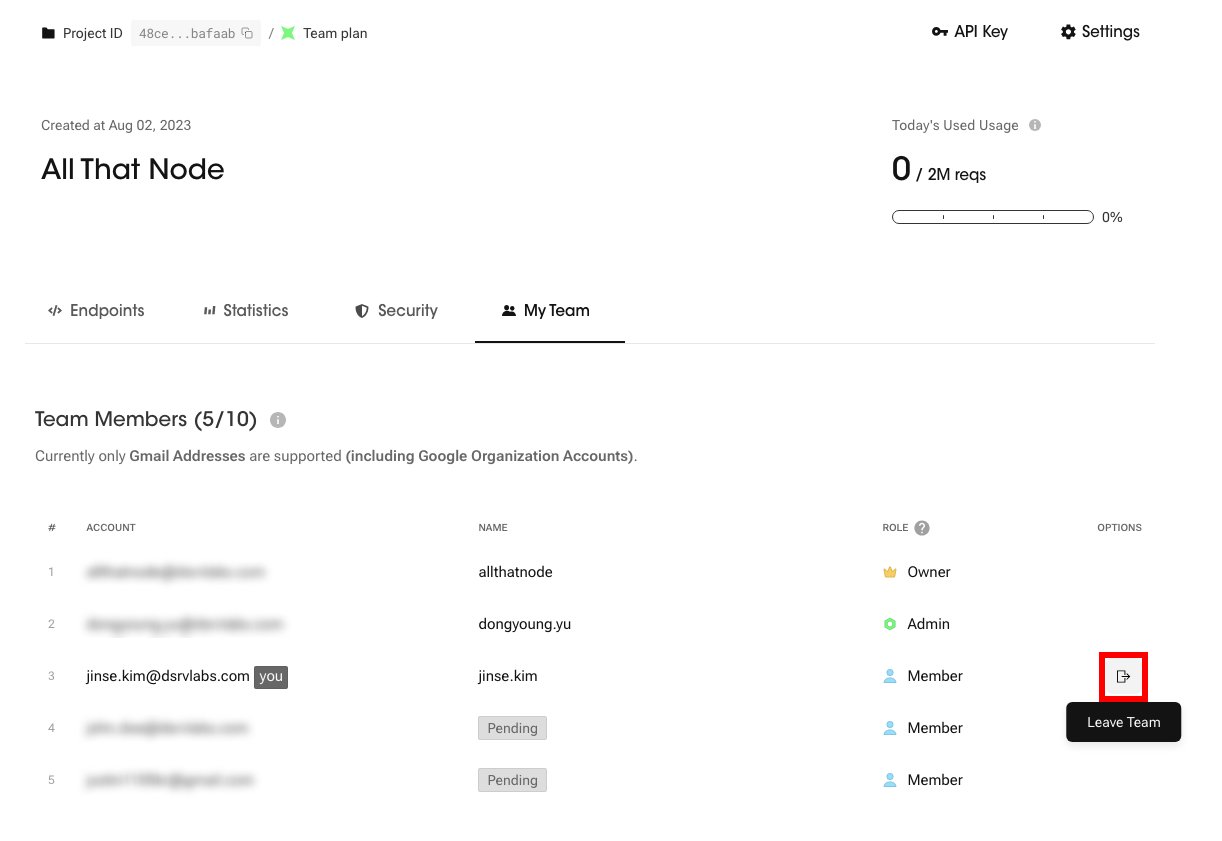
You cannot leave your team if you are the owner. Transfer the owner role to other member if you want to leave the team, or you can just delete your project.
Updated about 1 year ago