
By IP Address
Let's learn how to set the allowlist or blocklist with IP addresses!
What is IP?
The Internet Protocol (IP) is the network layer communications protocol in the Internet protocol suite for relaying datagrams across network boundaries.
And an IP address refers to the unique numerical label assigned to each device connected to a network. It serves as a means to identify and locate devices within a network or on the internet. (more details onWikipedia)
Why do we need an IP allowlist / blocklist?
IP addresses play a crucial role in security measures such as access control lists. By filtering or allowing specific IP addresses, network administrators can control which devices or networks are granted access to certain resources or services.
By blocking or allowing specific domains or IP addresses, you can enhance security. For example, you can prevent endpoint access from malicious users, hackers, or unauthorized individuals, thus mitigating the risk of depleting your endpoint usage due to unauthorized access.
It's important to note that you cannot solely rely on IP limitation for security. Implementing additional security measures, such as Json Web Token(JWT), is crucial for comprehensive protection.
How to setup the IP allowlist / blocklist?
Available Limitation: You can add up to 25 IP addresses for one project.
Allowlist
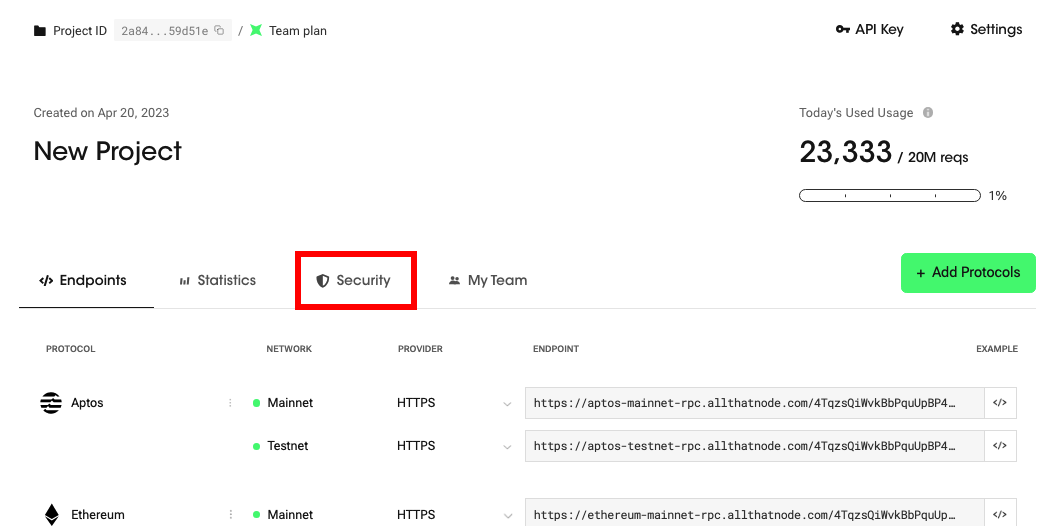
- Go to the "Security" menu on your dashboard.
이미지 변경 필요!!
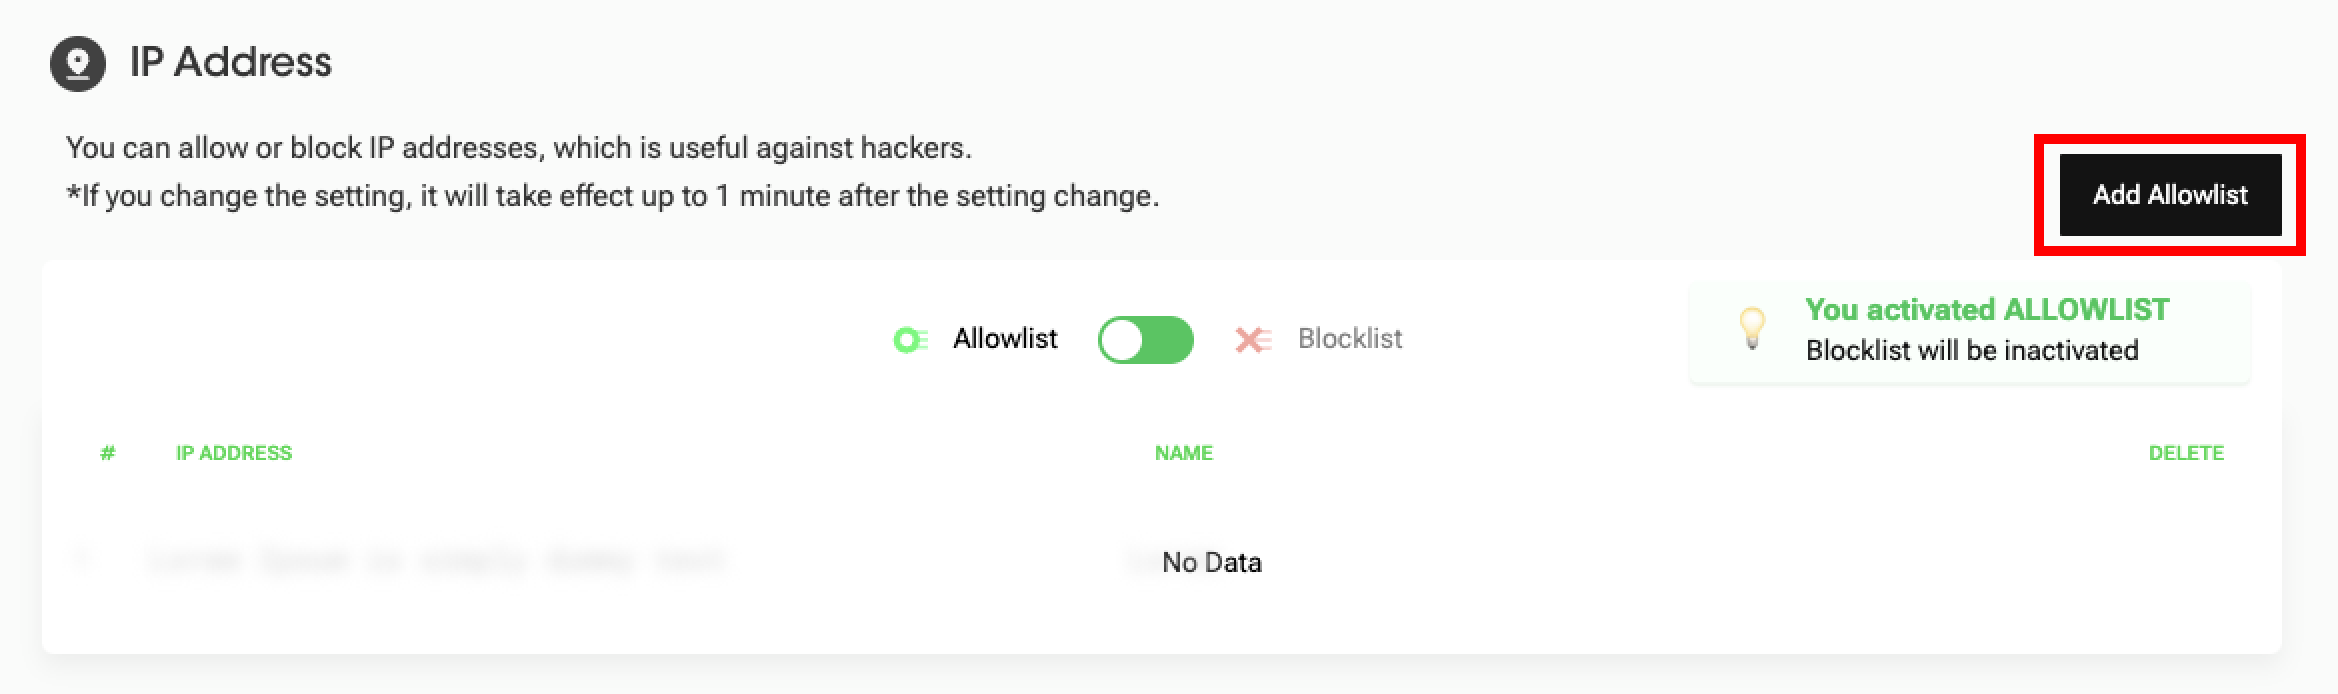
- Click "Add Allowlist." (or "Add Blocklist")
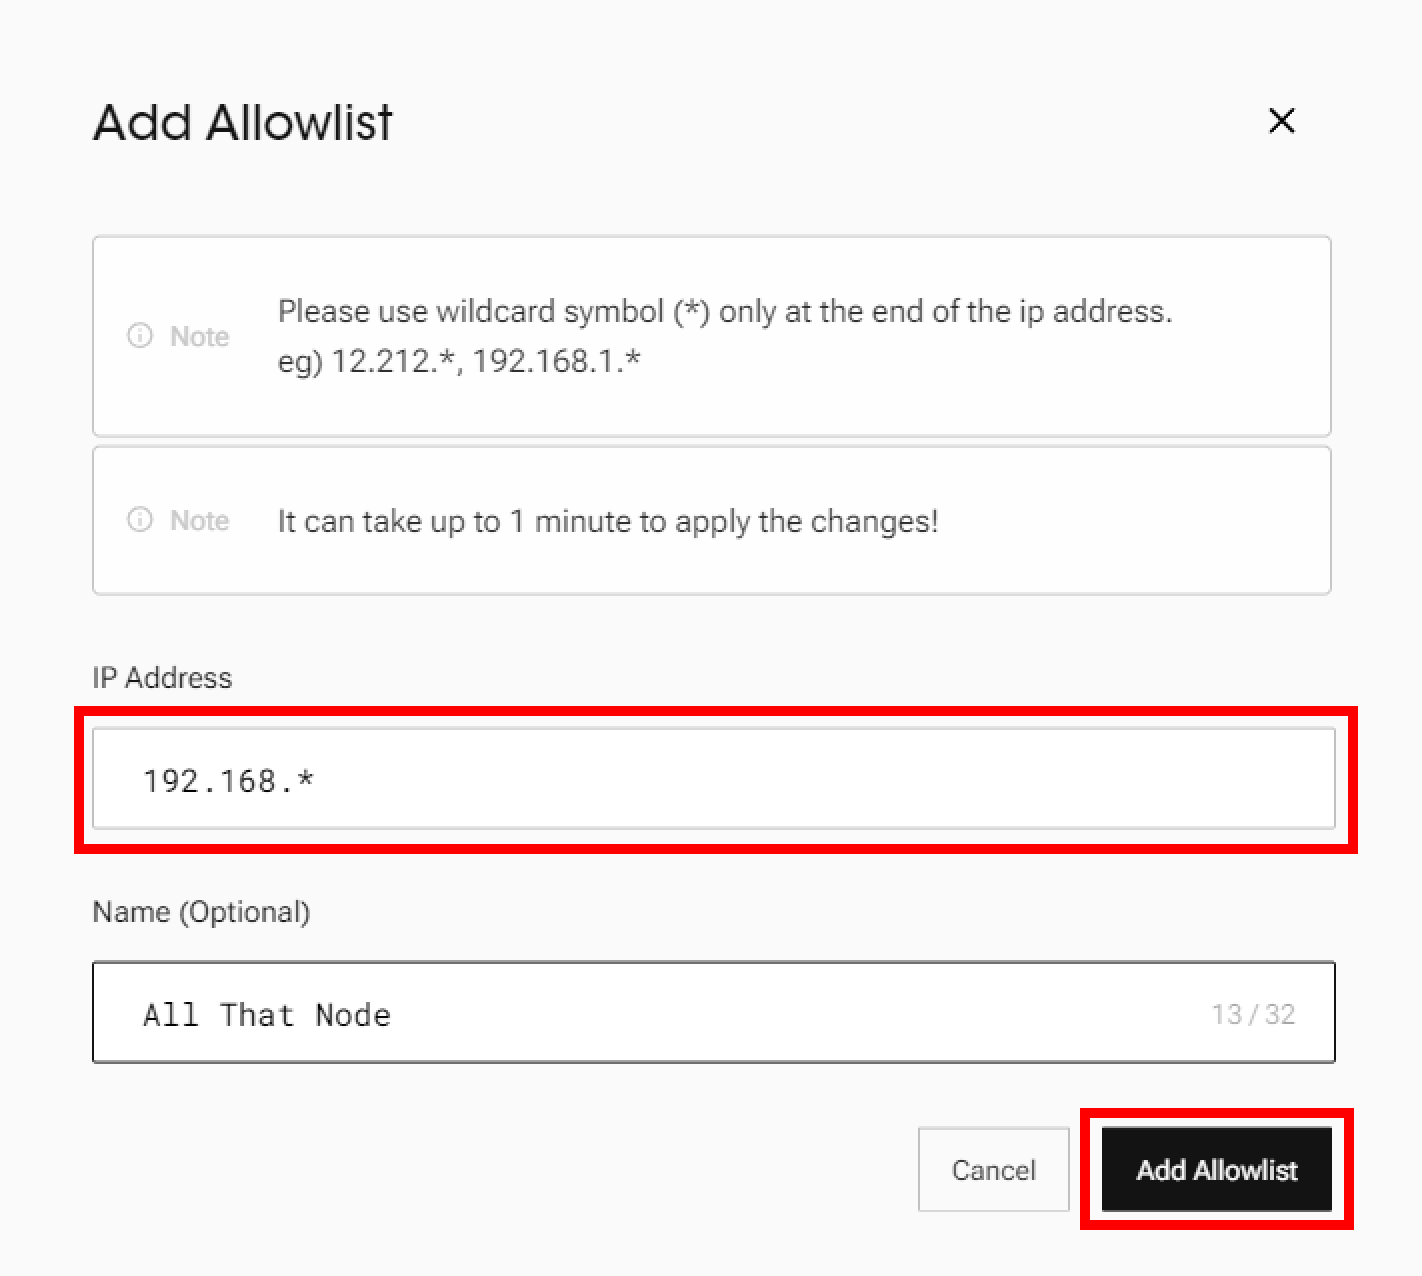
- Enter an IP address to allow and click "Add Allowlist." (Name is optional) You can also use wildcard at the end of the IP address.
All That Node supports both IPv4 and IPv6.
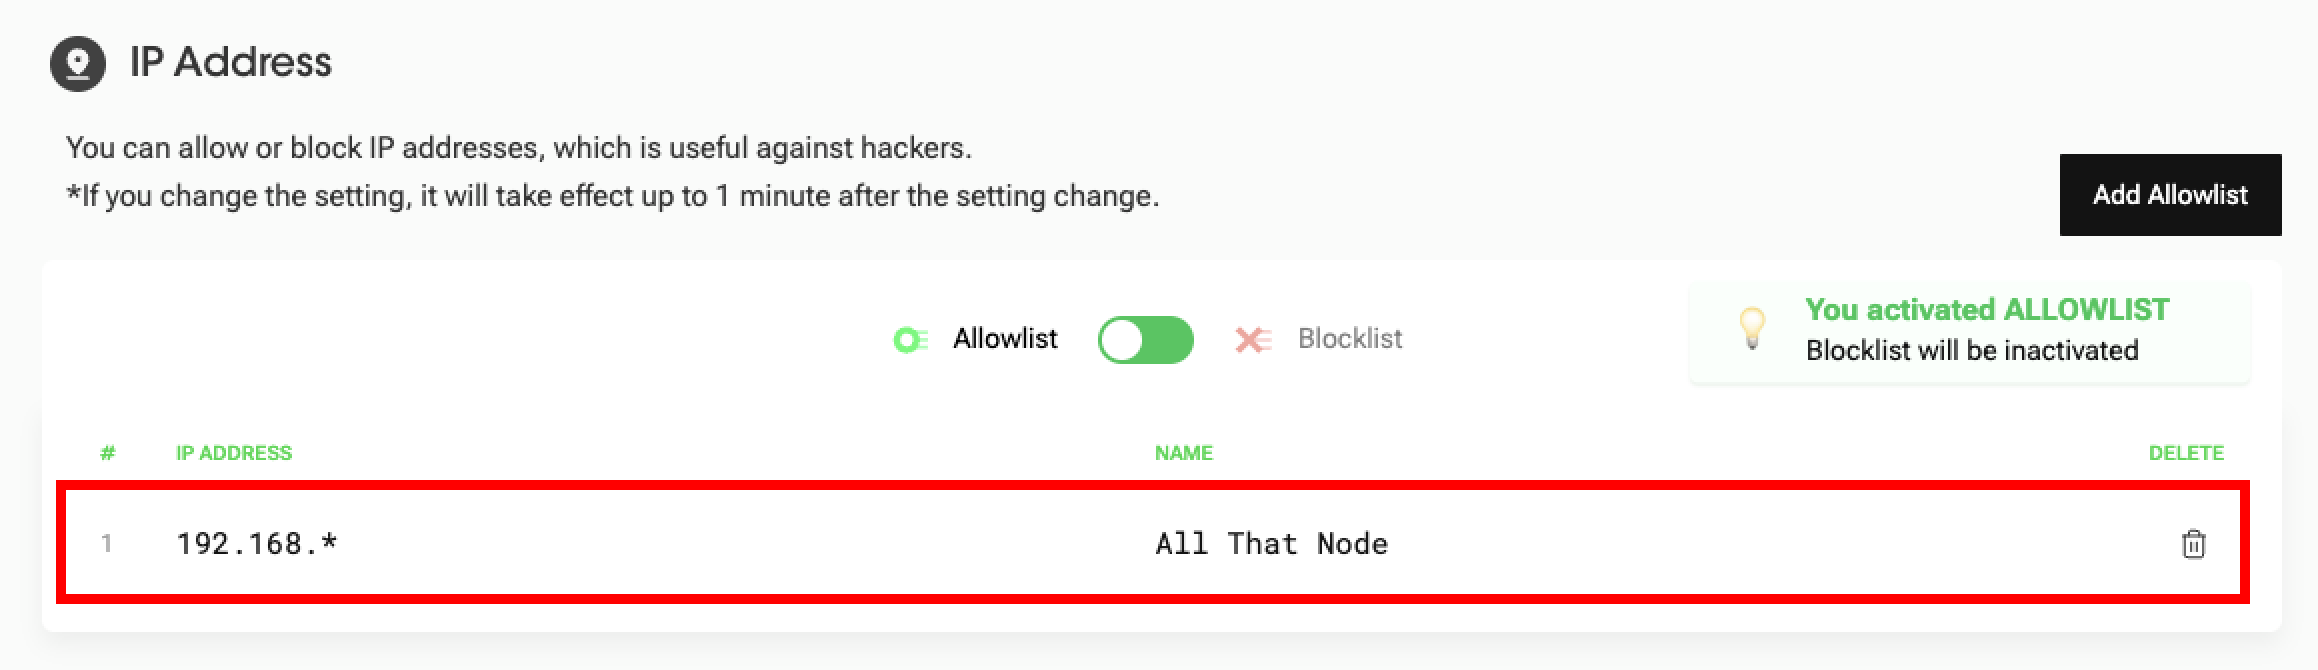
- Once you register the IP address, you can check if the IP address has been added to the allowlist.
- Requests sent from an IP address that is not in the allowlist will return an error message.
Blocklist
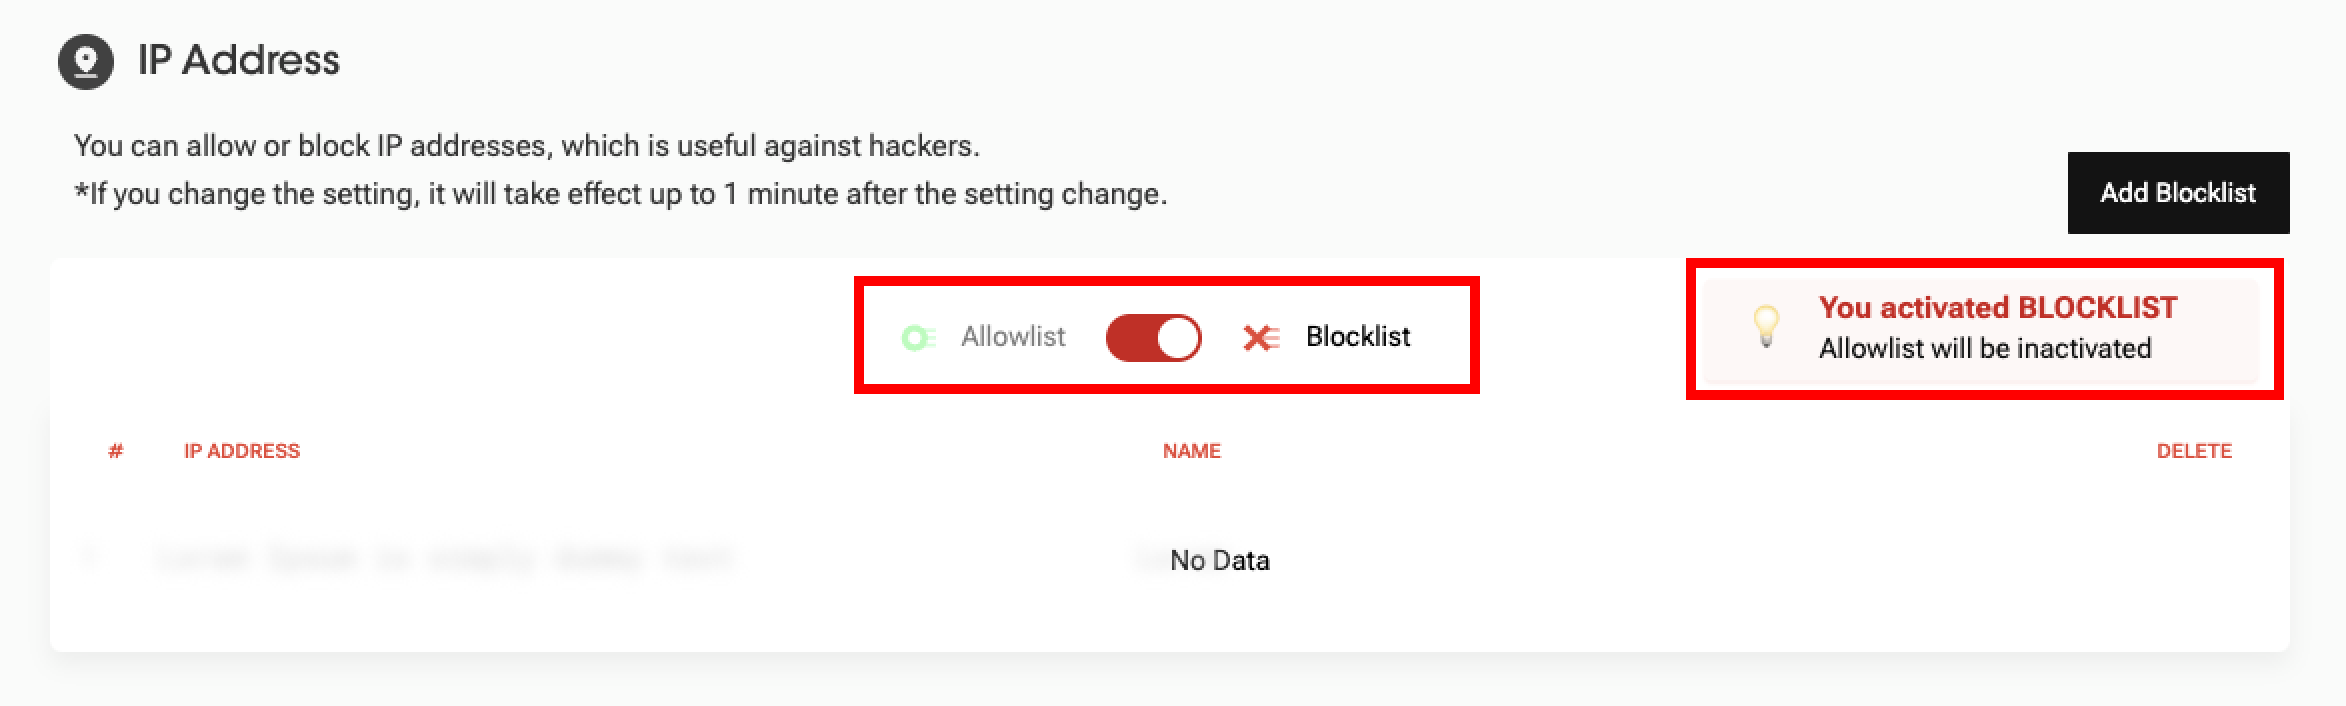
- If you want to change the list type from allowlist to blocklist, click the toggle button and check the activation message. Now, the request from an IP address included in the Blocklist will be rejected.
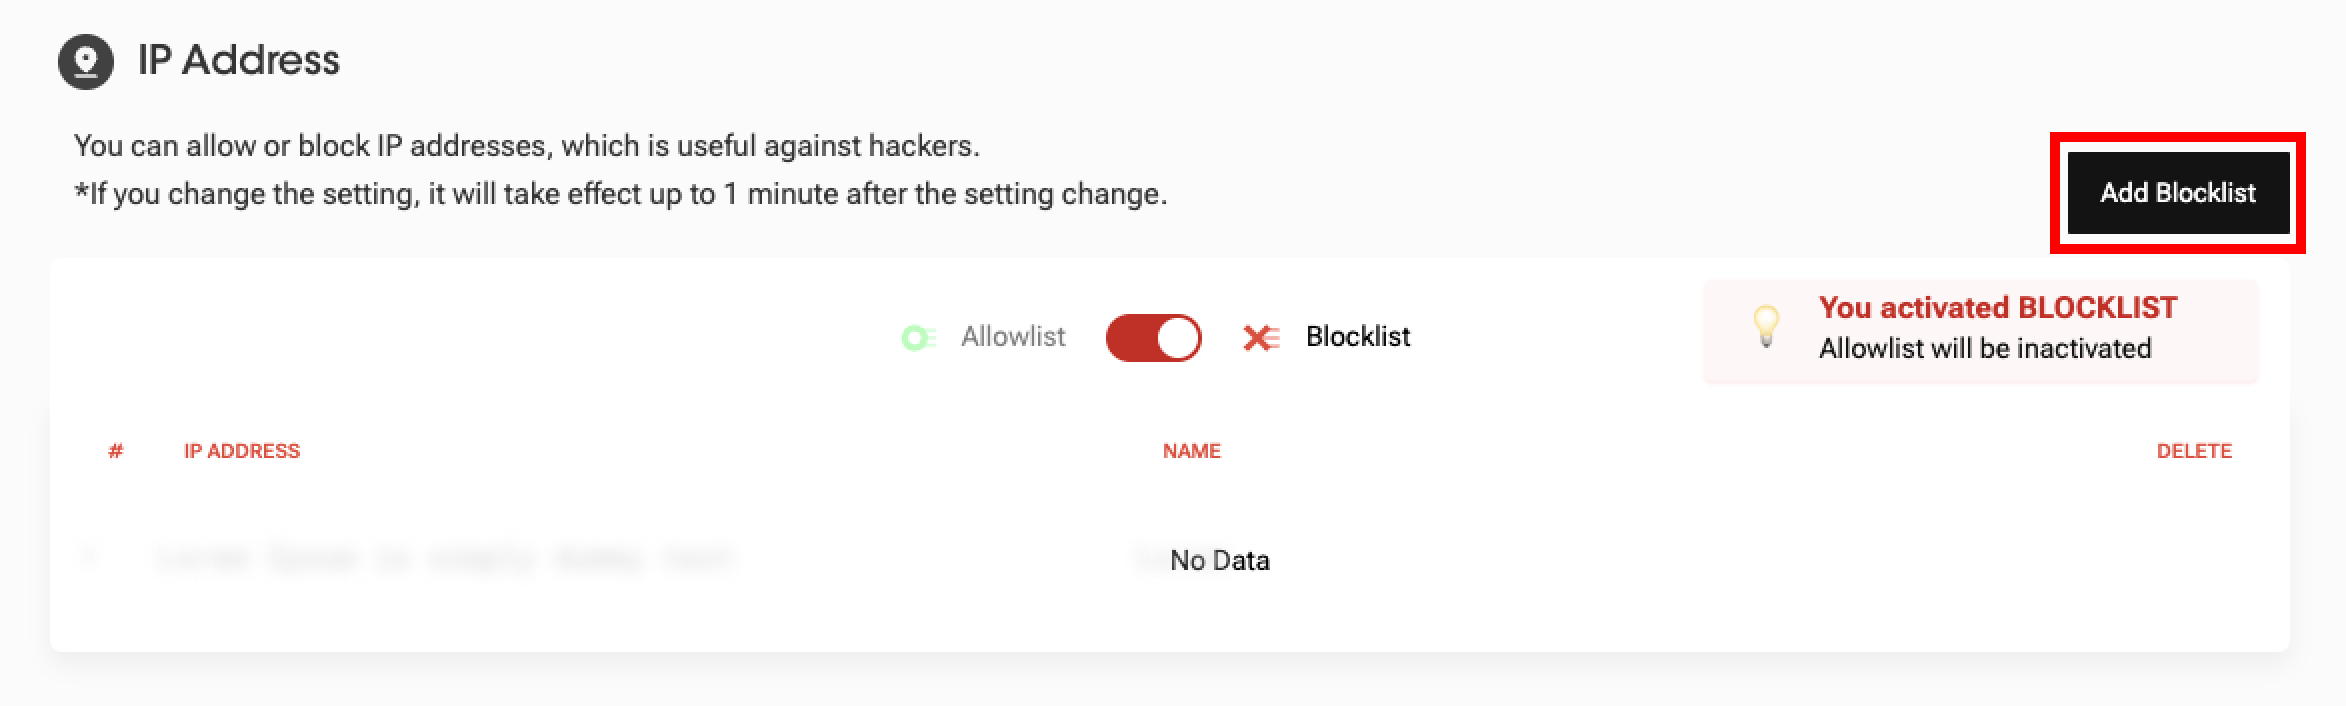
- Click "Add Blocklist" to block an IP address.
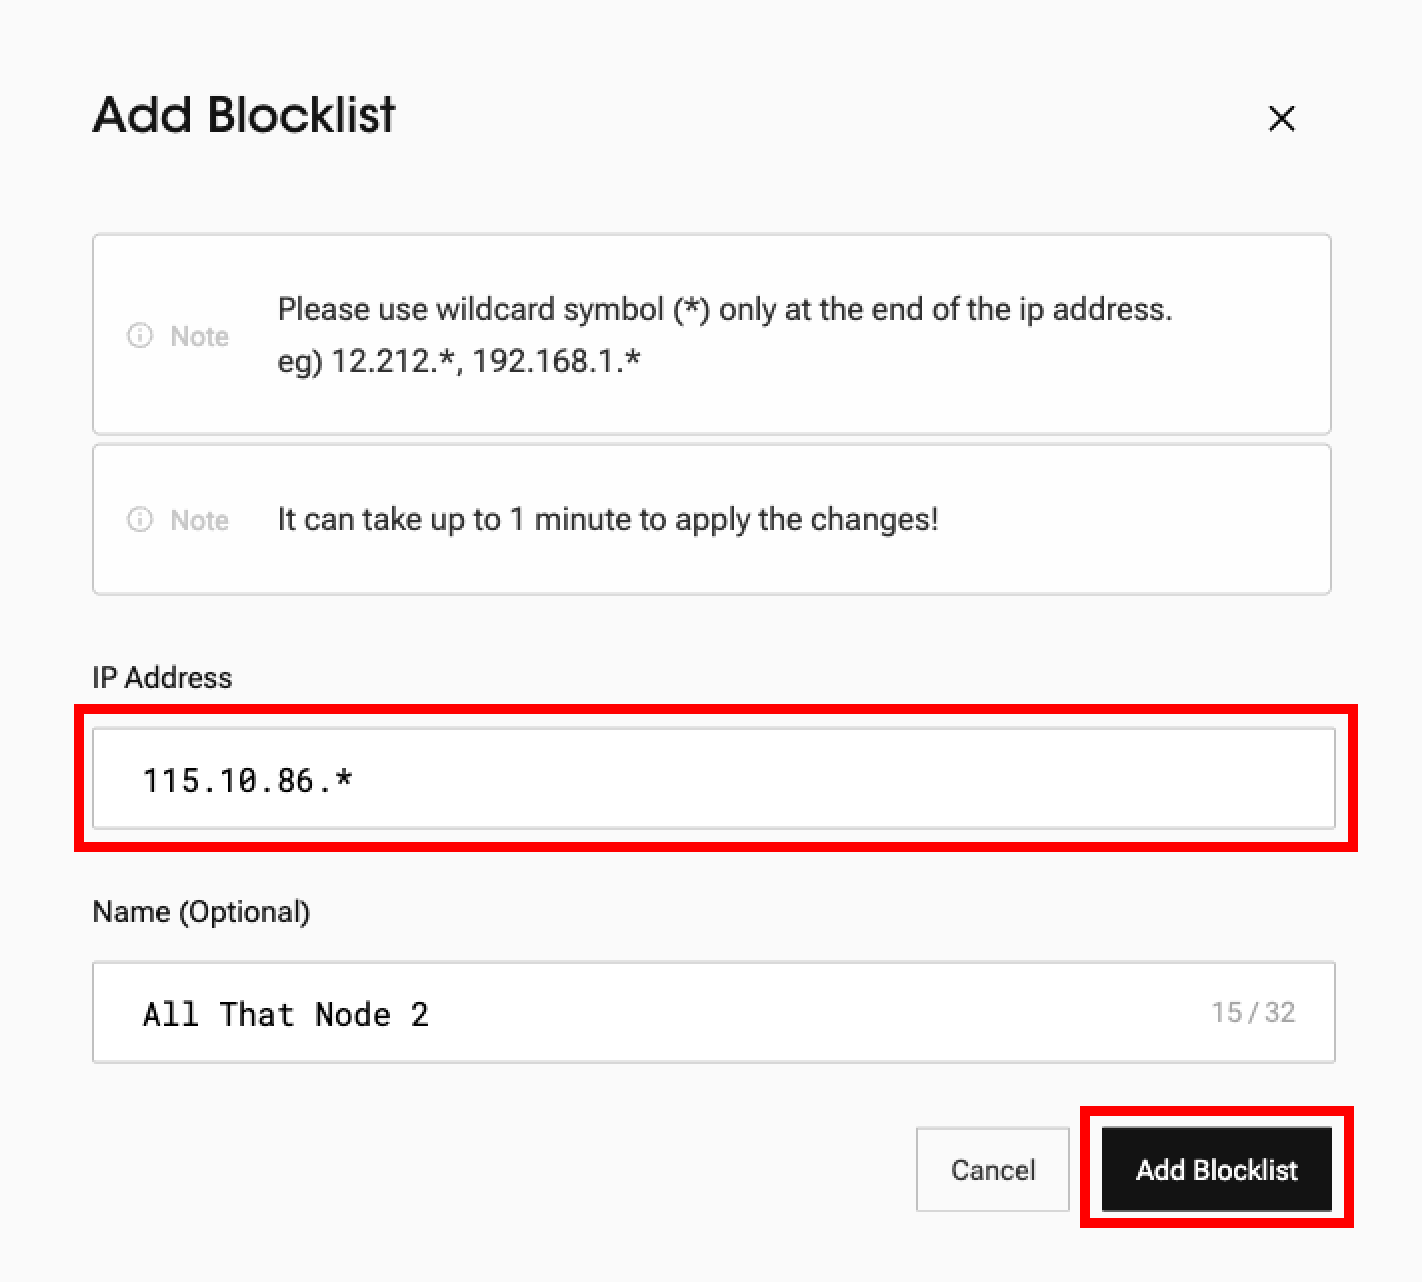
- Enter an IP address to block and click "Add Blocklist." (Name is optional) You can also use wildcard at the end of the IP address.
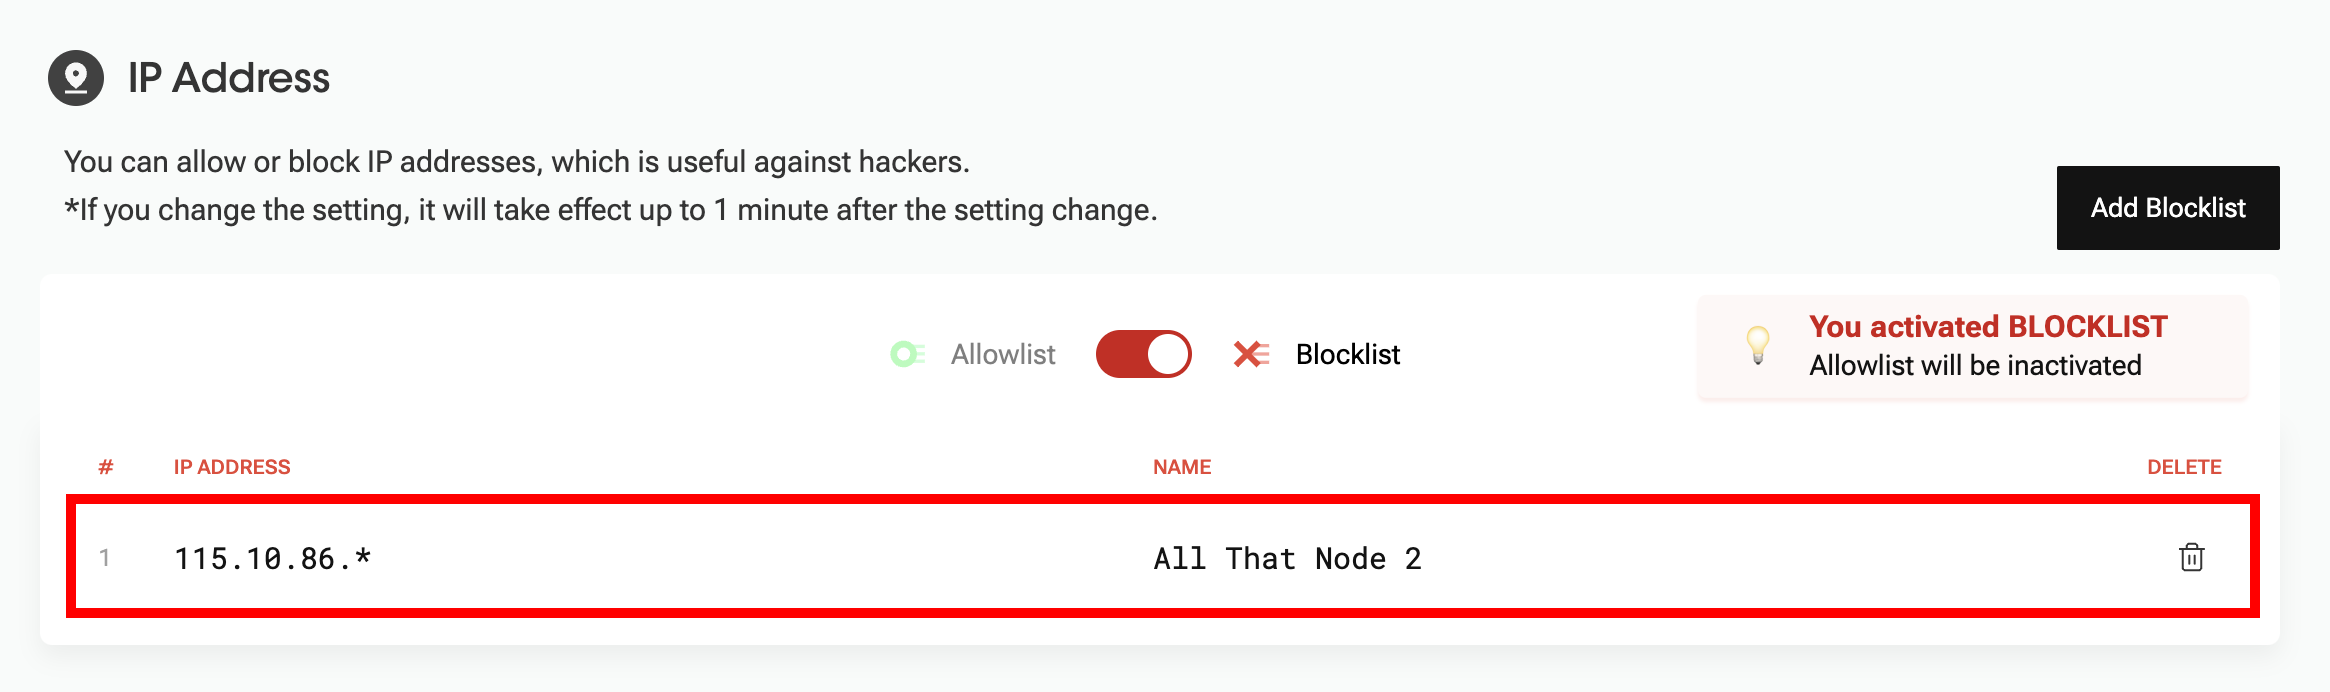
- The IP address has been added to the blocklist.
- Requests sent from IP addresses registered in the blocklist will return an error message.
Error References
You might encounter the following errors when you enable IP Address allowlist/ blocklist settings.
- The request sent from your IP address has been blocked due to IP address allowlist/ blocklist.
{"code": -32012, "message": "IP address {REGISTERED_IP_ADDRESS} is not allowed.","id":1, "project": "2a8428f5a79b09aadff75a745397cf6d2f59d51e"}
Updated about 1 year ago