
By Smart Contract Address
Let's learn how to set the allowlist or blocklist with contract addresses!
What is a Smart Contract?
A 'contract' or 'smart contract' is essentially a program that operates within the blockchain ecosystem. Similar to a conventional contract, it establishes the terms of an agreement. However, unlike traditional contracts, the stipulations of a smart contract are executed as code on a blockchain platform such as Ethereum. It comprises a collection of functions and state data residing at a specific address on the blockchain.
Smart contracts are a type of blockchain account. This means they have a balance and can be the target of transactions. However they're not controlled by a user, and are instead deployed to the network and run as programmed. User accounts can then interact with a smart contract by submitting transactions that execute a function defined on the smart contract. Smart contracts can define rules, like a regular contract, and automatically enforce them via the code. Smart contracts cannot be deleted by default, and interactions with them are irreversible. <an excerpt fromEthereum.org>
Why do you need a smart contract allowlist or blocklist?
In various cases, blocking or allowing contract addresses is necessary. Let's briefly examine why.
First, for dApp developers, you can prevent third-parties from taking over your node endpoint and API key and use them to interact with their own contracts. That way you can keep your daily quota safe from unauthorized usage by others.
Secondly and most importantly, by allowing only trusted contract addresses to interact with critical parts of your system, you can prevent hackers from compromising your website and deceiving users by replacing your contract addresses with their own contracts.
Want to learn how to set up a contract allow/ blocklist to enhance the security of your system?
How to setup the contract address allowlist/ blocklist
Available Limitation: You can add up to 25 contract addresses for one project.
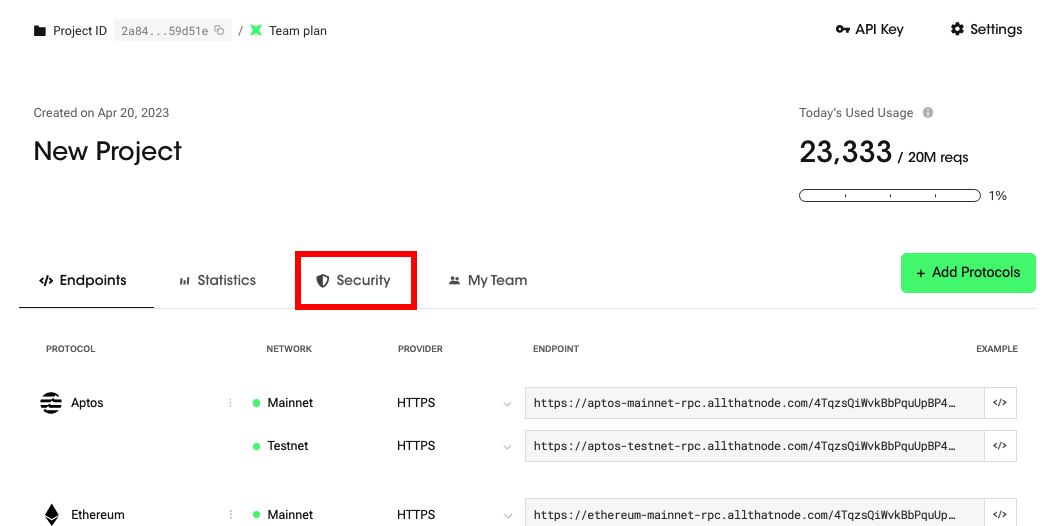
- Go to the "Security" menu on your dashboard.
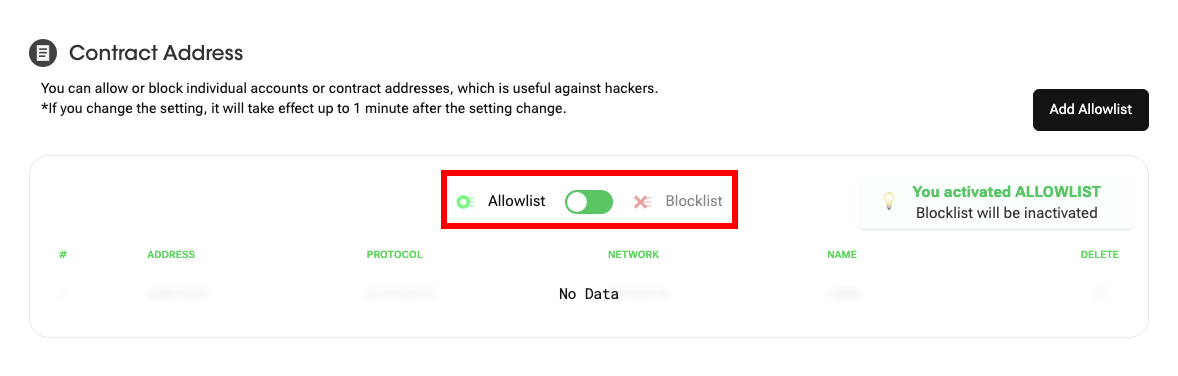
- Choose whether you want it to be blocked or allowed.
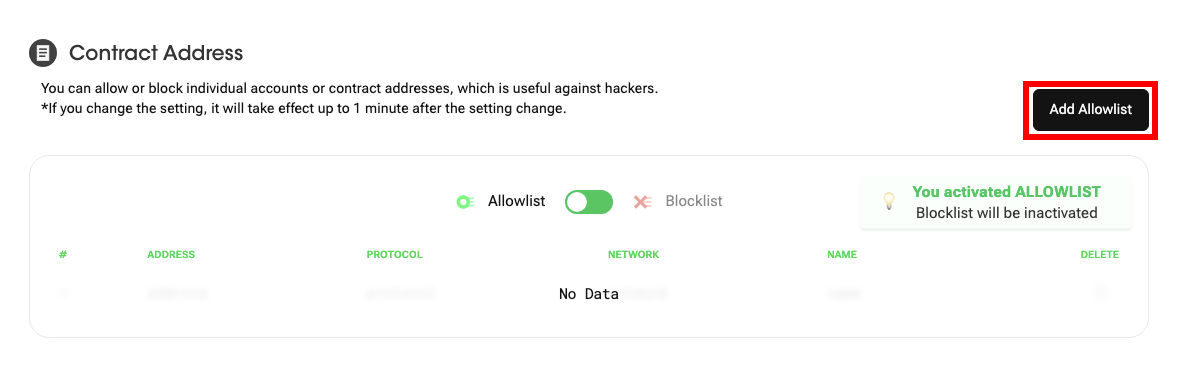
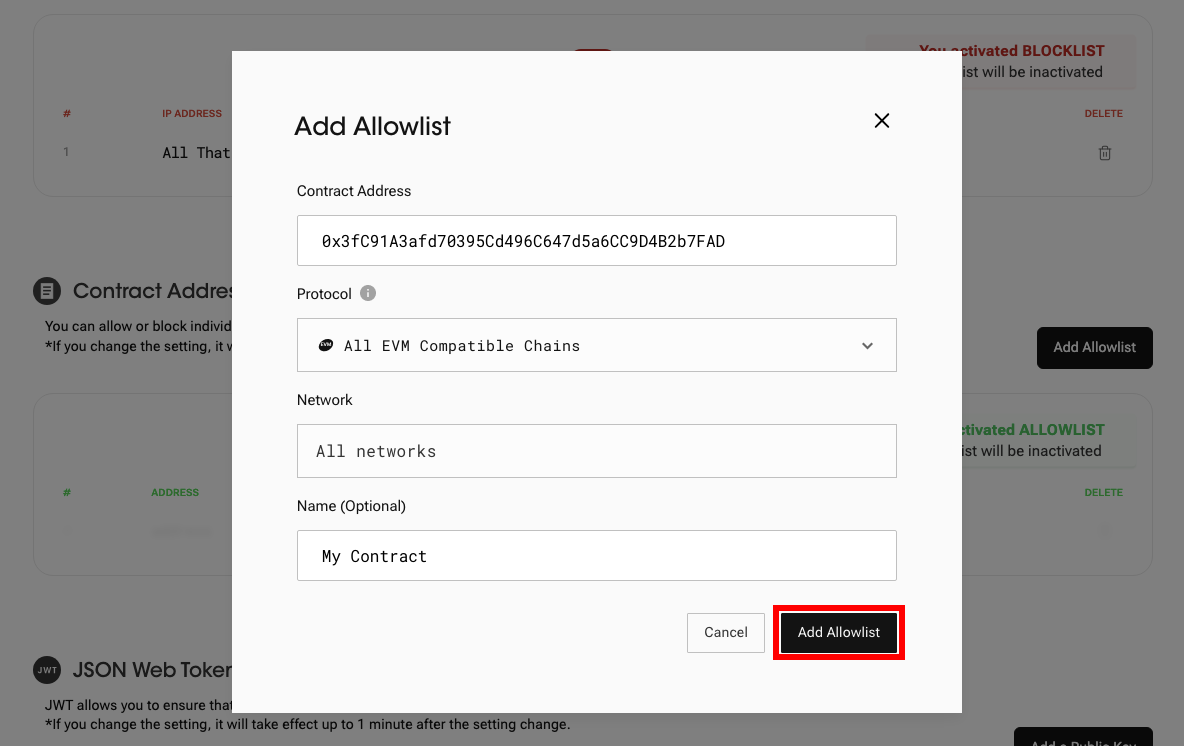
- Click "Add Allowlist". (or "Add Blocklist")
- Enter a contract address and select protocol and network.
- For the protocols, the default setting is "All EVM compatible chains" which includes all EVM compatible chains like Avalanche and Optimism. But you can also specify the chain and network to allow/ block.
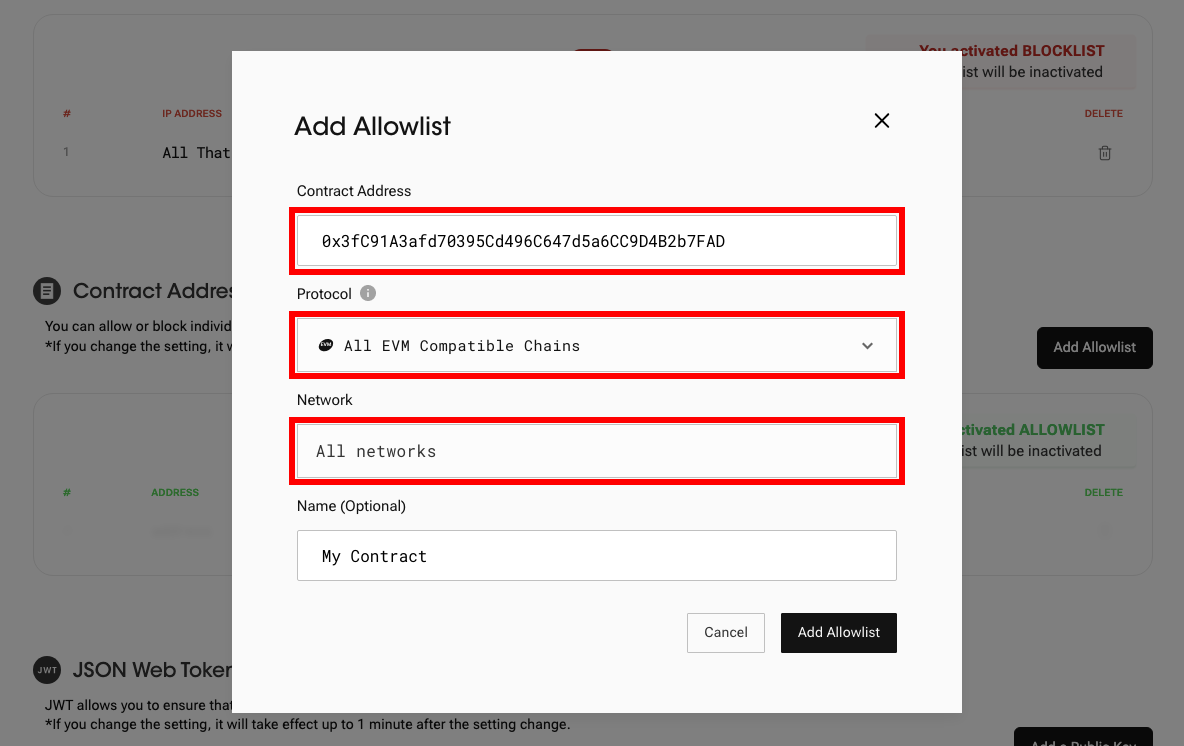
Currently, we only support EVM chains for contract address allowlist/blocklist.
And the allow/blocklist will restrict the following methods: eth_sendRawTransaction, eth_call, eth_getCode, eth_getLogs, eth_getStorageAt
- Click "Add Allowlist" or "Add Blocklist."
- Once you register the contract address, you can check that the contract address has been added to the list.

- Now, transactions to other than the registered contract will be rejected- if you chose allowlist. (In blocklist case, transactions to the registered contract.)
Error References
According to contract address allowlist/blocklist settings, you might encounter the following errors when you send a request to a certain address.
//Error Response example
{"code": -32014, "message": "Request to address 0x123421423123213de is not allowed.", "project" : "2a8428f5a79b09aadff75a745397cf6d2f59d51e"}
Updated about 1 year ago